If a page only listed 'build a team and fight,' it would miss the real game. The systems below are the levers you actually pull.
Numbers and pool sizes below come from official Steam and studio materials for the public demo era.
Combat model
Place, then resolve
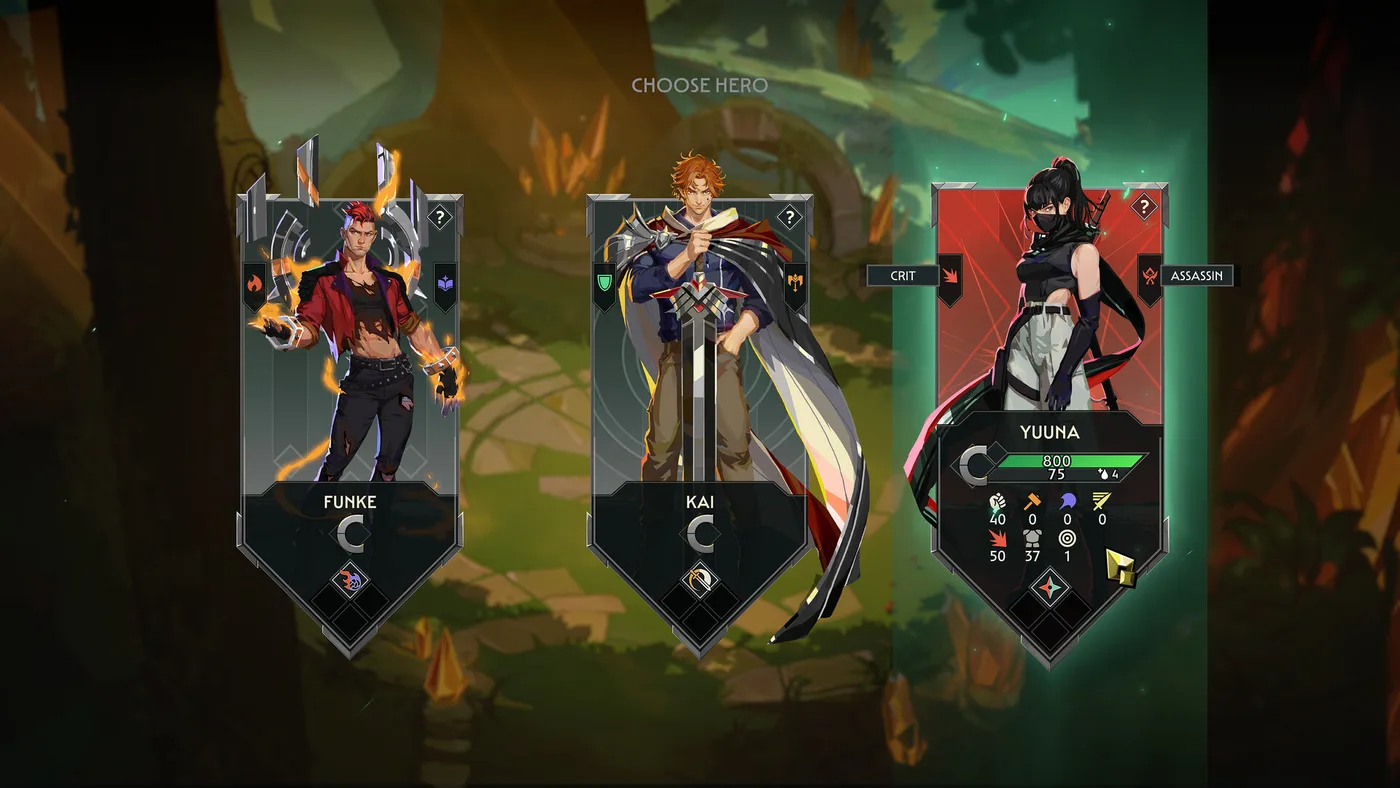
Guildrun is an autobattler. You arrange heroes on an isometric field before combat; once the fight starts, units attack, cast, and die without direct commands. That design pushes skill into preparation: who holds which item, which classes share modifiers, and whether a Reserve unit's Backup effect is worth a board slot you left empty.
The UI surfaces damage dealt, shields, and status during combat so you can evaluate the board after the fact. Treat every lost fight as a post-mortem on placement and item distribution rather than a call for better reaction timing.
Because combat is automatic, information design matters. Watch which keywords fired early, which units died first, and whether Reserve Backup effects actually landed. Those observations feed the next shop better than a vague sense that the run is going badly.
The isometric arenas and crystal environments are not only cosmetics; they frame how crowded a board feels. Larger team sizes from auction relics change spacing problems and can make previously safe placements fail.
Progression
Ranks C to S and specialization paths
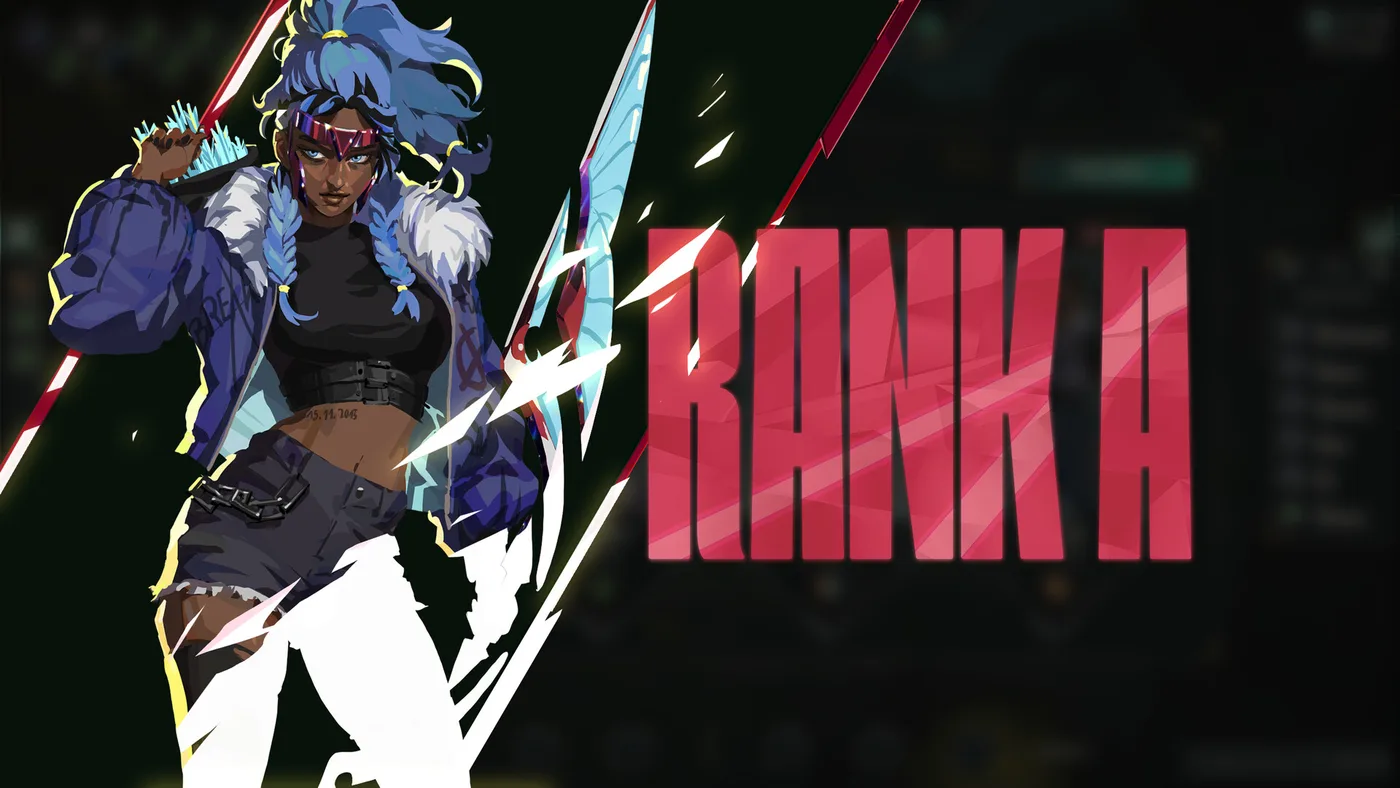
Heroes climb ranks from C through B and A up to S. Each rank step offers ability choices that reshape the unit's job. Official materials claim over 500 unique ways to level and shape each hero, with 180 specializations and 75 specialization paths across the 25-hero demo roster.
Because specialization options are fixed per hero rather than fully freeform, mastery is learning which branches exist and when to take them. You cannot invent an arbitrary hybrid out of nowhere, but the branching space is large enough that two runs with the same starter often diverge by act two.
Demo roster target
Unique branch picks
Official store figure
Per-hero shaping space
Ability timing
Rush, Stall, and Backup
Ability keywords control when effects land. Rush fires in the opening seconds of a fight. Stall waits for a later window. Backup lets a hero sitting in Reserve still contribute an effect — for example a delayed team heal, shield, or health boost — without occupying a field slot.
Building for Backup changes how you evaluate shops. A unit that looks weak on the field may be perfect as a Reserve enabler. Conversely, a strong fighter with no Backup text wastes Reserve if you never field them.
Stacking multiple Rush effects can win openers but lose long boss patterns if nobody survives to the Stall window. Mixed timing profiles usually beat mono-timing boards unless a relic specifically rewards one tempo.
Backup is easy to underrate because the unit is off-screen. After each fight, glance at whether a Reserve effect mattered. If it never does, either the keyword is missing or the effect is too weak for the current difficulty modifier set.
- Rush: early fight impact, strong for openers and burst setups.
- Stall: delayed impact, pairs with survivability so the unit lives to cast.
- Backup: Reserve contribution; expands effective team size beyond the fielded party.
Roster slots
Party field vs Reserve bench
The bottom bar splits Party and Reserve. Party heroes are the ones you place into combat. Reserve holds extras. Some rewards and relics expand how many bodies you can field; auctions are one official source of team-size expansion relics.
When your board is full, the correct buy is often a Reserve specialist or an item upgrade rather than another frontliner you will never place.
Run skill
Mid-run pivots are the real skill check
Without a PvP ladder forcing a single meta, Guildrun skill is reading offers. A relic that rewards unique classes pushes rainbow boards; a relic that rewards shared classes pushes stacks; a legendary burn item pulls you toward burn heroes even if you started as a pure physical guild.
Selling a previous carry is normal. Official marketing explicitly sells 'infinite build freedom' and mid-run reshaping. If your early plan dies to a boss pattern, rebuild — do not force a corpse strategy for three more nodes.